Tools and Materials You’ll Need
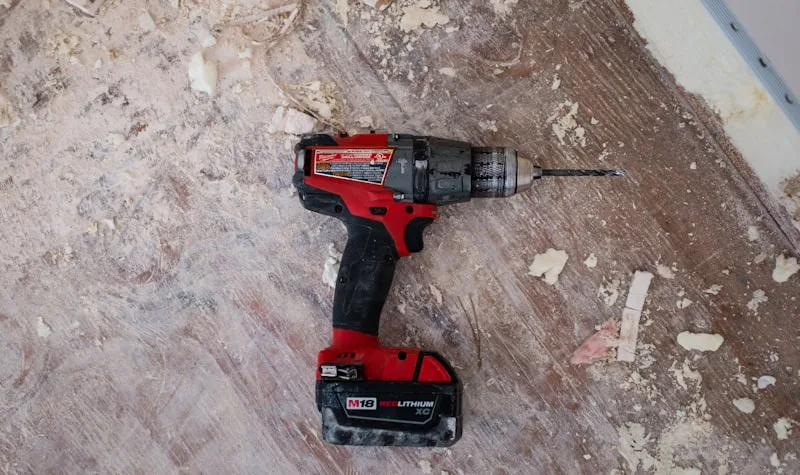
A successful DIY backsplash project starts with having the right tools and materials on hand. You’ll need a notched trowel, tile spacers, a level, a tile cutter or wet saw (available for rent at most home improvement stores), grout float, sponge, bucket, and painter’s tape. For materials, purchase your tiles (buy 10% extra for cuts and breakage), thin-set mortar or mastic adhesive, grout, grout sealer, and caulk that matches your grout color. Subway tiles, mosaics on mesh backing, and peel-and-stick tiles are the easiest options for first-time DIYers.
Preparation and Layout
Remove outlet covers and turn off electricity to outlets in the work area. Clean the wall surface thoroughly — it should be smooth, dry, and free of grease. If the wall has existing tile, remove it and repair any damage to the drywall. Plan your tile layout by doing a dry run — hold tiles against the wall to determine where cuts will fall. Center the pattern on the focal point (usually the area behind the stove or sink) so cut pieces are symmetrical on both sides. Mark a level horizontal line as your starting guide, and begin tiling from the center outward.
Setting Tiles and Grouting
Apply thin-set mortar with the flat edge of a notched trowel, then create ridges with the notched edge. Press tiles firmly into the mortar with a slight twist. Use spacers between tiles for consistent grout lines — 1/16 inch for a tight modern look, 1/8 inch for a traditional style. Allow the mortar to cure for 24 hours before grouting. Mix grout to a peanut butter consistency and press it into joints with a grout float held at a 45-degree angle. Wipe excess grout with a damp sponge, rinsing frequently. After the grout hazes over, do a final wipe with a clean, damp sponge. Seal the grout after 48-72 hours to prevent staining.
EC
Emily Chen
Emily is a DIY enthusiast and home improvement writer who loves helping homeowners tackle renovation projects on any budget.